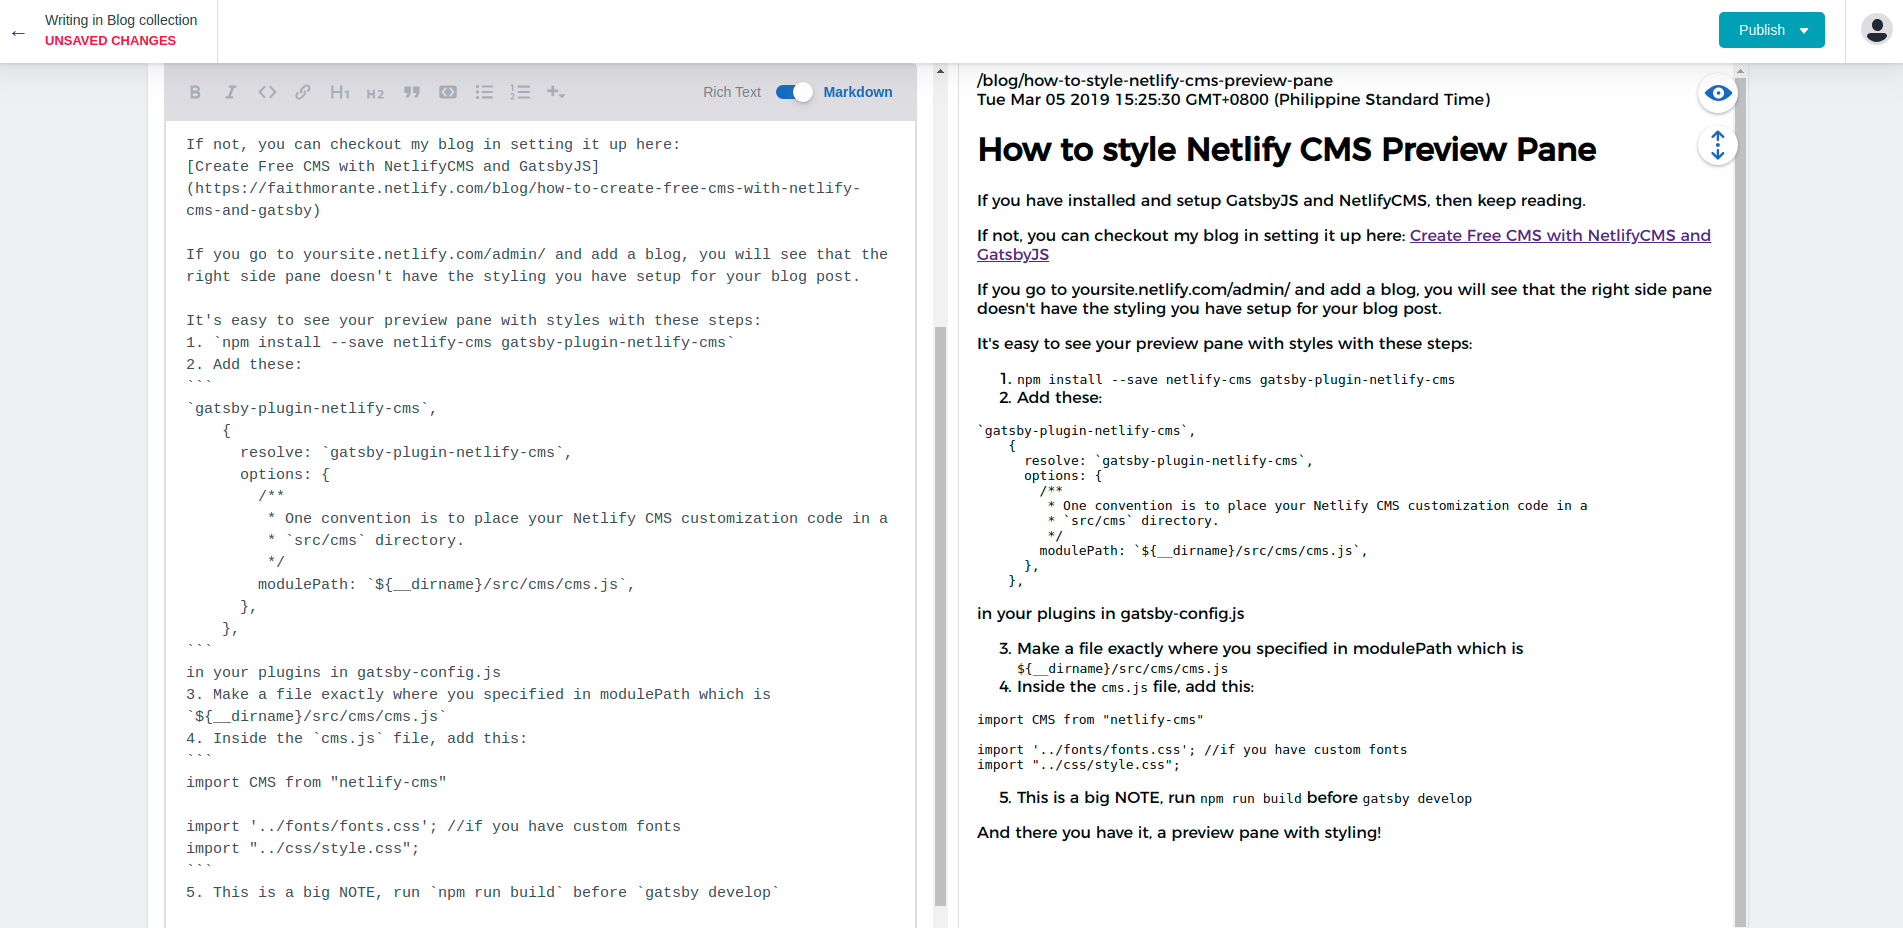
How to style Netlify CMS Preview Pane
If you have installed and setup GatsbyJS and NetlifyCMS, then keep reading.
If not, you can checkout my blog in setting it up here: Create Free CMS with NetlifyCMS and GatsbyJS
If you go to yoursite.netlify.com/admin/ and add a blog, you will see that the right side pane doesn't have the styling you have setup for your blog post.
It's easy to see your preview pane with styles with these steps:
npm install --save netlify-cms gatsby-plugin-netlify-cms- Add these:
`gatsby-plugin-netlify-cms`,
    {
      resolve: `gatsby-plugin-netlify-cms`,
      options: {
        /**
         * One convention is to place your Netlify CMS customization code in a
         * `src/cms` directory.
         */
        modulePath: `${__dirname}/src/cms/cms.js`,
      },
    },
in your plugins in gatsby-config.js
- Make a file exactly where you specified in modulePath which is
${__dirname}/src/cms/cms.js - Inside the
cms.jsfile, add this:
import CMS from "netlify-cms"

import '../fonts/fonts.css'; //if you have custom fonts
import "../css/style.css";- This is a big NOTE, run
npm run buildbeforegatsby develop
And there you have it, a preview pane with styling!

Rock on!
